Thursday 21 May 2015

Props

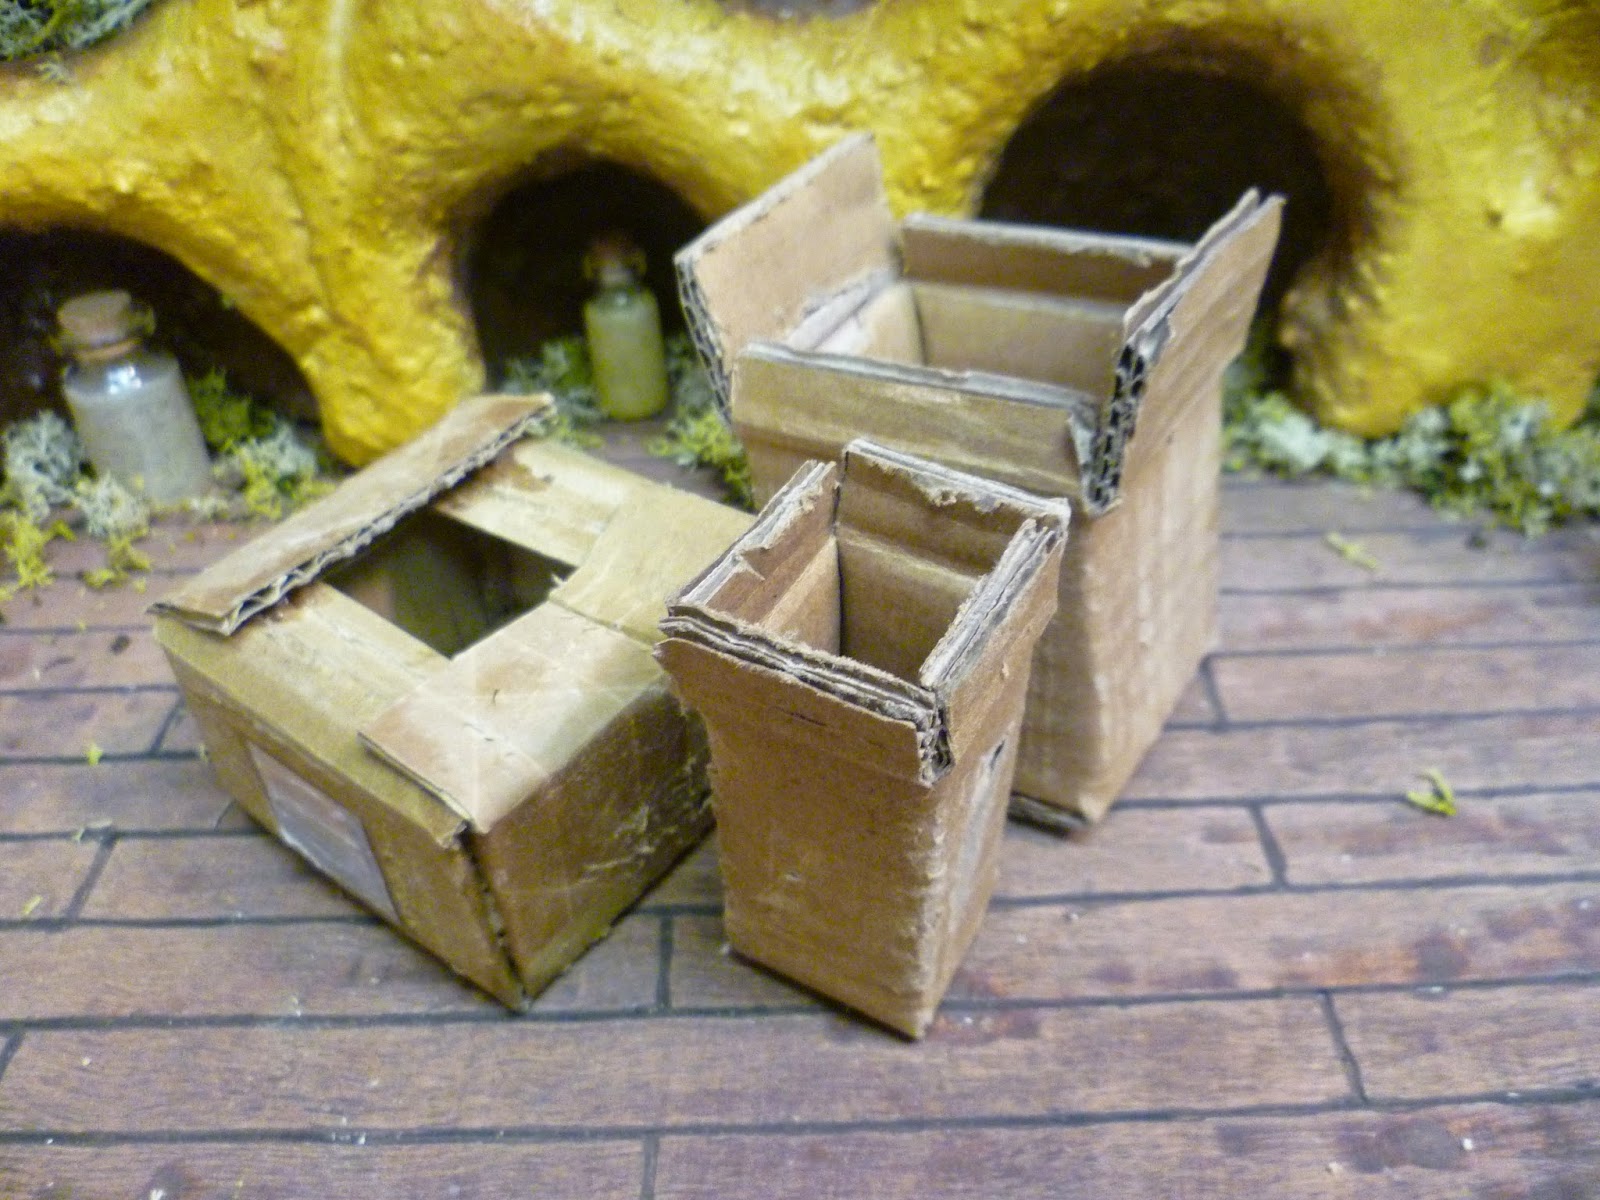
As well as building the sets the set design students also offered to make a few of the larger props for me. Unfortunately I was unhappy with the standard of prop that they produced and ended up constructing the majority of them myself in a very limited time span. I would also like to thank Sophie Lewis (second year stop motion) for stepping in and making a few of the smaller props for me. Including lots of tiny books, a chair, a ladder, boxes, and brooms (photos below) :)

Here are the props made by the set students. They were made using plastic cut with a laser cutter.


Here are the props that I constructed. They are unfinished in these Photos they were made using balsa wood. Which I feel gives a more realistic finish to the prop.


When making the door I salvaged the frame and hinges from the door made by the set students then covered it in balsa wood.


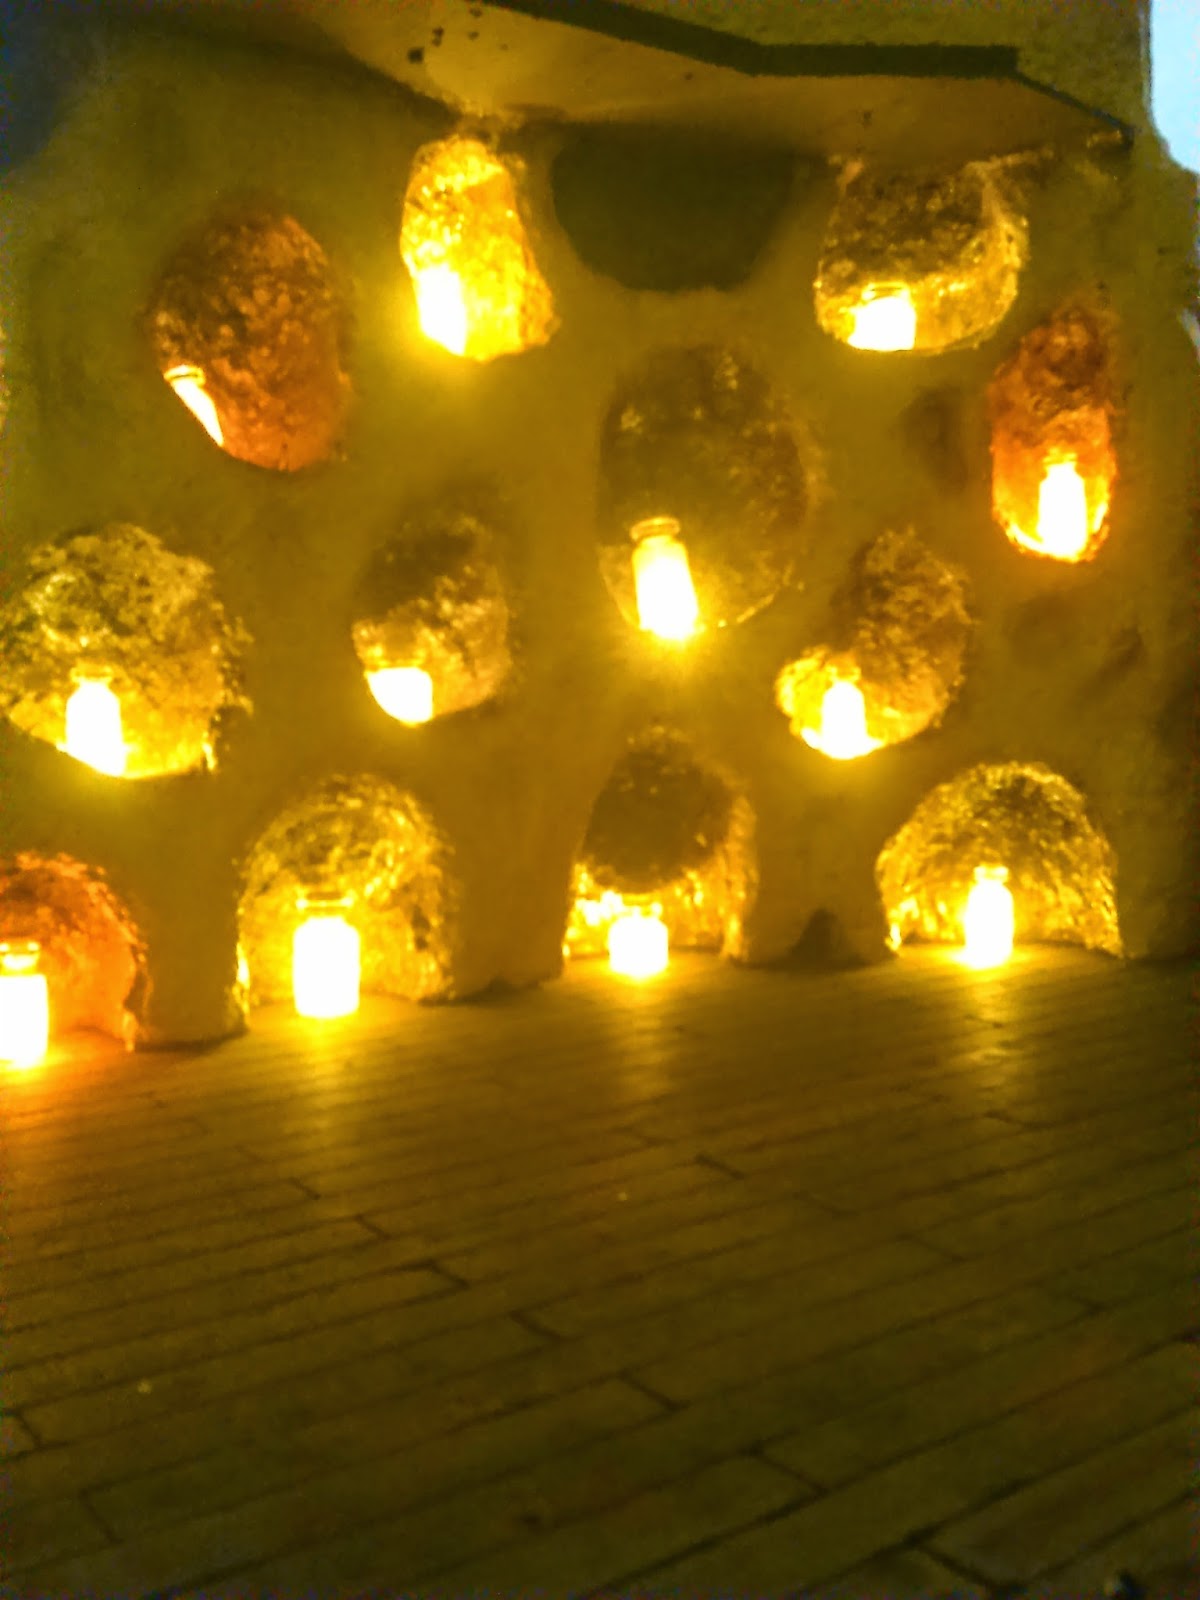
Here are some photos of the set fully dressed and ready to film.


I also made the coin that Pip finds at the start of the film. I used a two pence piece as the base, then used super sculpy firm to create the insect and honey comb design.

Looking back I should have made a resin copy of this to reduce the weight but I didnt consider this at the time.


I baked the sculpy then stuck on some gold leaf using PVA. I then rubbed on some acrylic paint to give the coin an aged look. 


Interior Sets


I think the interior set is where the majority of hiccups happened. After the initial mock up models were completed and tweaked to my liking, construction of the set began. Unfortunately I was unable to visit and comment on the building of this set as much as the other one. This is possibly why things didn't turn out as I expected them to.


I was initially pleased with the work being produced. Unfortunately after the set had been moved from the workshop to the University building I was able to take a closer look and realized that the walls didn't fit snugly together and wobbled rather a lot which isn't great when trying to film in stop-motion. As well as this the paint job was a shoddy. I was however very pleased with the floor boards which had been made using a laser cutter.


I didn't take any photos at this stage due to time constraints. With the help of my wonderful mum and dad (Shirley and Antony) we patched up the set which included but was not limited to reinforcing the walls, using paper mache to fill the gaps, giving everything a fresh coat of paint and PVA and building a base for everything to sit on.

I also wired up all the fairy lights and bottles which meant cutting lots of holes in the wall and floor of the set to hide all the wires.


 Here are some images of the finished set I took while filming.


Exterior Set

 Here's the obligatory apology for not posting for so long. I'm very sorry, don't be angry with me. I've been very busy making a film!

I was very lucky this year to have my sets made for my by some set design student from my university. We worked collaboratively to develop my initial designs and they built several mock up models before construction of the final sets started.

Initially I was reluctant to outsource parts of my project to others but am glad I did so as it allowed me to concentrate on constructing my puppets and to attend work experience at Chuck Steel. Although the end result is amazing I wont deny that there were a few hiccups along the way.

I had two sets built for my, I'll start with the exterior set as this is where the majority of the film takes place. This set was constructed from several separate pieces so that I could arrange them in different ways.

The set was carved from huge blocks of polystyrene, some of  the pieces were more sculptural...


 ....others parts (see below) were flatter and could be used to create a sense of depth in the set by placing them in the background.


The exterior set was meant to resemble something between a termite mound and a bee hive. To achieve a honeycomb pattern metal stamps were made that could be heated up and pressed into the polystyrene. 


 Next came the painting, the image below shows only the first coat, the end result is much more textured and the colour graduated from dark green at the bottom to a light yellow at the top.


This next part is possibly my favorite piece of set (its unfinished in this photo) and sadly it only appears in my film for a few seconds. The aim of this huge wedge is to create a false perspective, to create the illusion that we are looking over the edge of a cliff. 


This is how I filmed the shot in question