Thursday, 19 February 2015

Bottles


A few of the major scenes in my film take place in a shop where there will be loads of bottles filled with fairy dust. Each bottle has to have a hole drilled in the bottom and then be sanded.


Here is a before and after of the sanded bottle. The sanding process makes the glass opaque. This will disperse the light from the battery powered LED which will be placed inside.


Each bottle will have a hole in the bottom which will line up with a hole in the shelf on the set. This will allow me to hide all the wiring from the lights. 

One down, fifty to go!


HAIR! ITS EVERYWHERE! (Part 1)


 Before I begin this post I would like to thank James Carlisle (link to blog) for his original post on how to do this process and for leaving this horrible synthetic hair in the model making room. Cheers man.

Warning: A combination of this hair and UHU glue will stick to everything you own and love. Seriously its freaking' everywhere now. Blegh!


I started by cutting a section of hair and laying a line of UHU glue down the center. I then left it like this for several minutes for the glue to get tacky.


 I placed the hair on a pre-folded sheet of paper. Making sure the line of glue was in line with the fold.


 I then folded the paper and hair in half. The paper allowed me to fold the hair and firmly press the glued section without getting my hands sticky.


I then carefully removed the hair from the paper and placed it in my desk vice until the glue was dry.


Yoricks Head (part 1)


I wasn't expecting this to work on my first attempt. Having glued together the balsa wood last week  I had been putting off sculpting the head as this is usually my weak point.

I roughly drew the shape of Yoricks head on to my block of balsa wood before using a hacksaw to remove the majority of unwanted material. I then got out my (dad's) trusty Dremel to finish shaping.


Here's the result so far. I used a sculpting tool to add some wrinkle detail and also shaped a nose which I will glue on later.


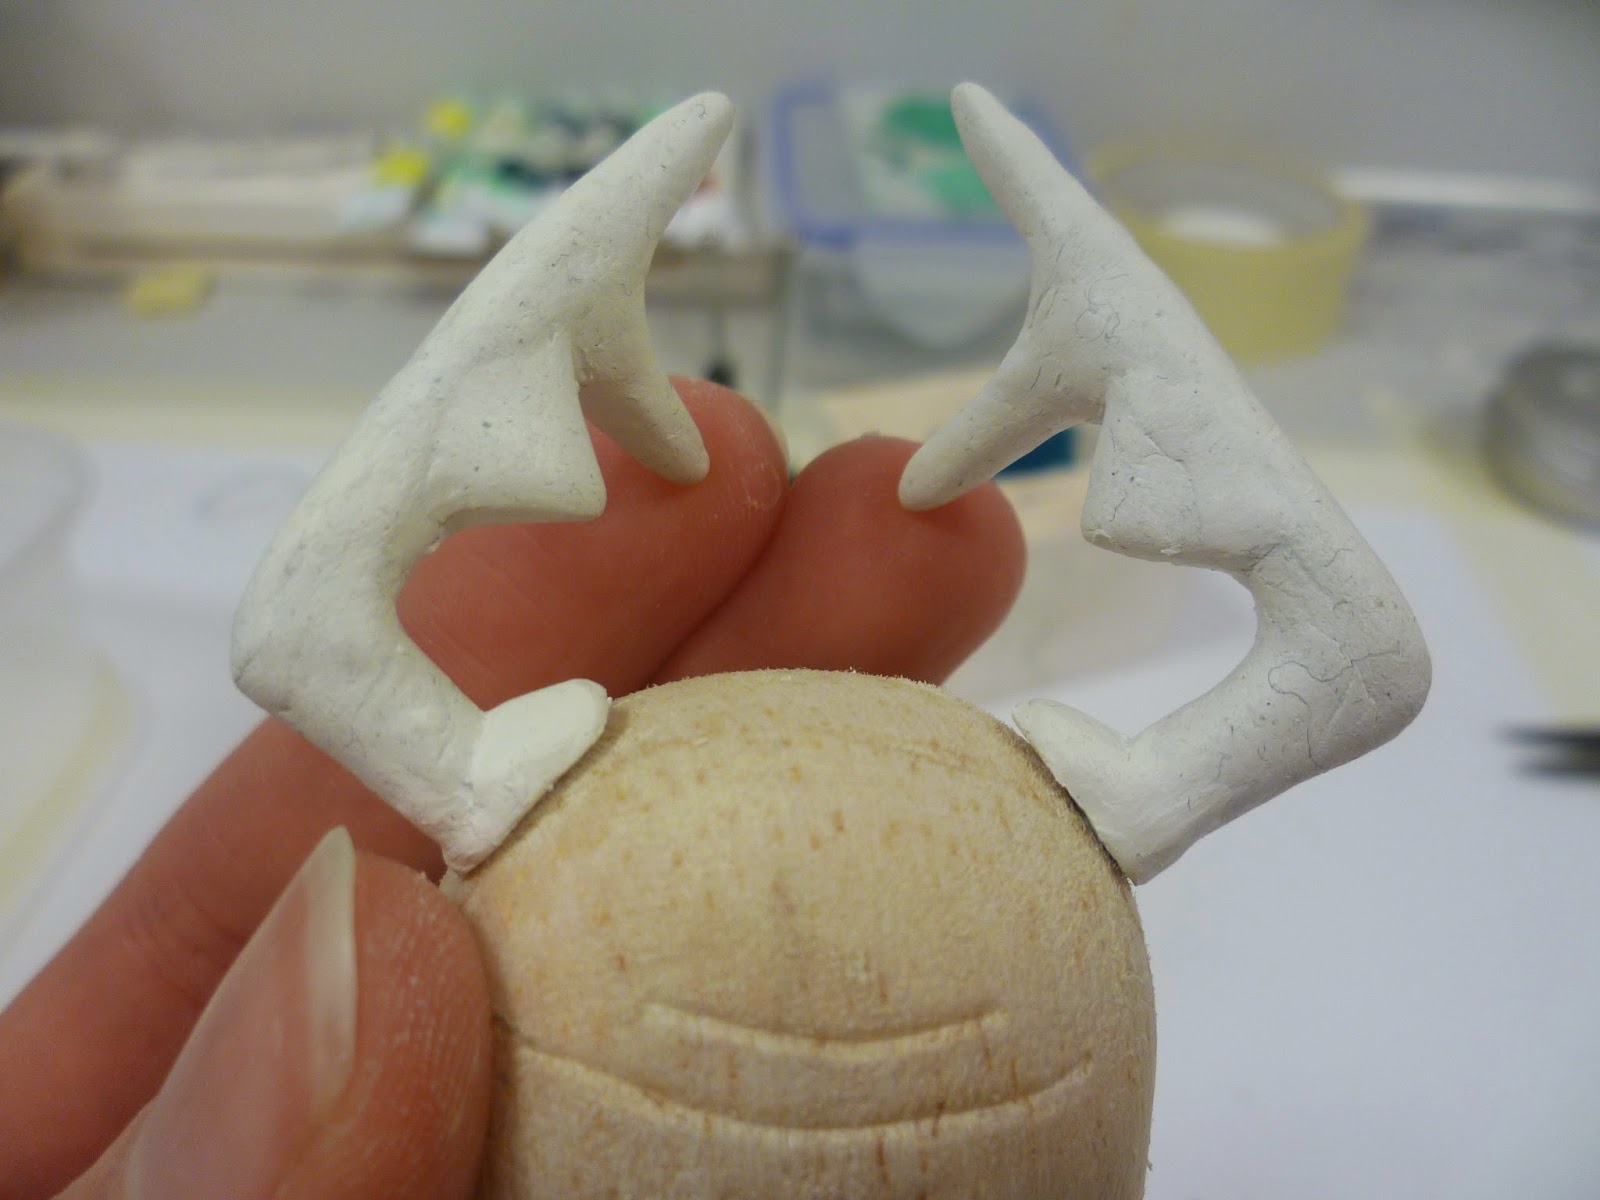
 Next I used aluminium wire and Milliput to roughly sculpt Yoricks stag beetle antlers.


Here's a close up for ya.
 In part two I aim to be adding eyes, ears, mustache, eyebrows and painting the head.

Yoricks Wings


I wanted to make the wings translucent so that I could light them from behind to show off the vein/wire detail. To do this
I started by printing off a turnaround at a 1:1 scale which I used to bend and cut some aluminium wire to the correct shape and size.


I used masking tape to secure the long ends of the wire that will eventually attach to Yoricks back. I then sandwiched the wire between several layers of yellow/gold tissue paper and used PVA glue to stick it all together. (see picture above)


After the PVA had dried I carefully trimmed them to the correct shape.


Not the best photo but here are the wings lit from behind. Despite the many layers of PVA and tissue I can still manipulate the shape of the wings so that they look less flat.

Sunday, 15 February 2015

Silicon


Bloody hell that took forever but Ive finally finished all my casts!

I decided to start the silicon casting with all of Pips appendages. I mixed a large batch of blue silicon to ensure there was enough for all the molds and a little extra to account for mistakes. 

The first part of the process was to paint a thin layer of silicon into each of the molds to ensure the armature doesn't touch the surface later on. 

Yoricks Arms


 Hopefully this will be the last sculpt and plaster cast I have to do before I move on to using silicon. Woohoo!


 Here I have begun to sculpt Yorick arms and hands, sorry for the lack of photos I was kind of in the zone when sculpting these and forgot to use my camera.


Once again I added texture using the handle of a sculpting tool then lightly baked the sculpt before laying them up in plasticine.


Here the finished cast post clean up. I decided not to post every stage of the casting process because Ive done it so many times before. There are plenty of previous examples on my blog.

Friday, 6 February 2015

Rigging Pip


To prepare Pip for rigging I cut away a section on either side of his hips for the K&S tubing. I made sure to cut all the way to the steel armature to ensure I had something solid to glue against.


Before using epoxy glue to attach the K&S I made a notch in each end to ensure the inner K&S would have a snug fit and not just slide out. I also sanded the surfaces of the tubing to help the epoxy stick to it.